DIY Pergola Roof
May 30, 2020
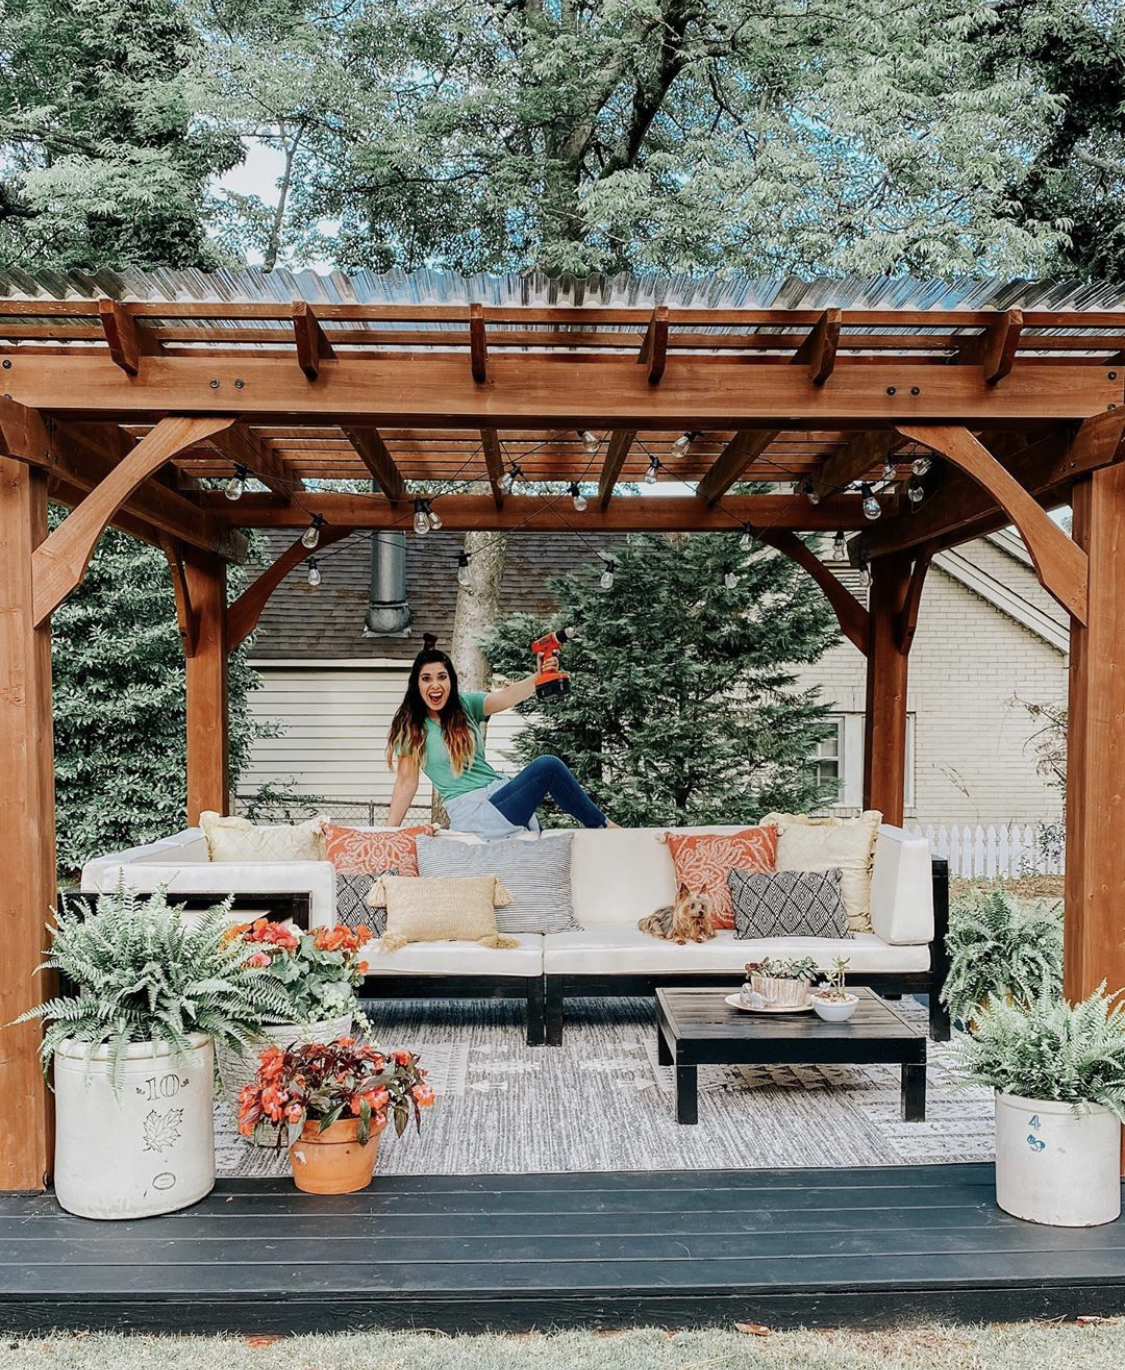
If you are anything like me, you love being outdoors. I’ve shared before how our historic home did not come with a porch so we built a patio and added a pergola in order to have an outdoor space. Last month, I gave my patio a refresh by painting the floor and making over the outdoor furniture. We decided not to stop there! After almost 2 years of not truly enjoying this space because of weather, we decided to add a roof. Thankfully, its an easy enough project that anyone can do if given the right instructions and having the right tools!
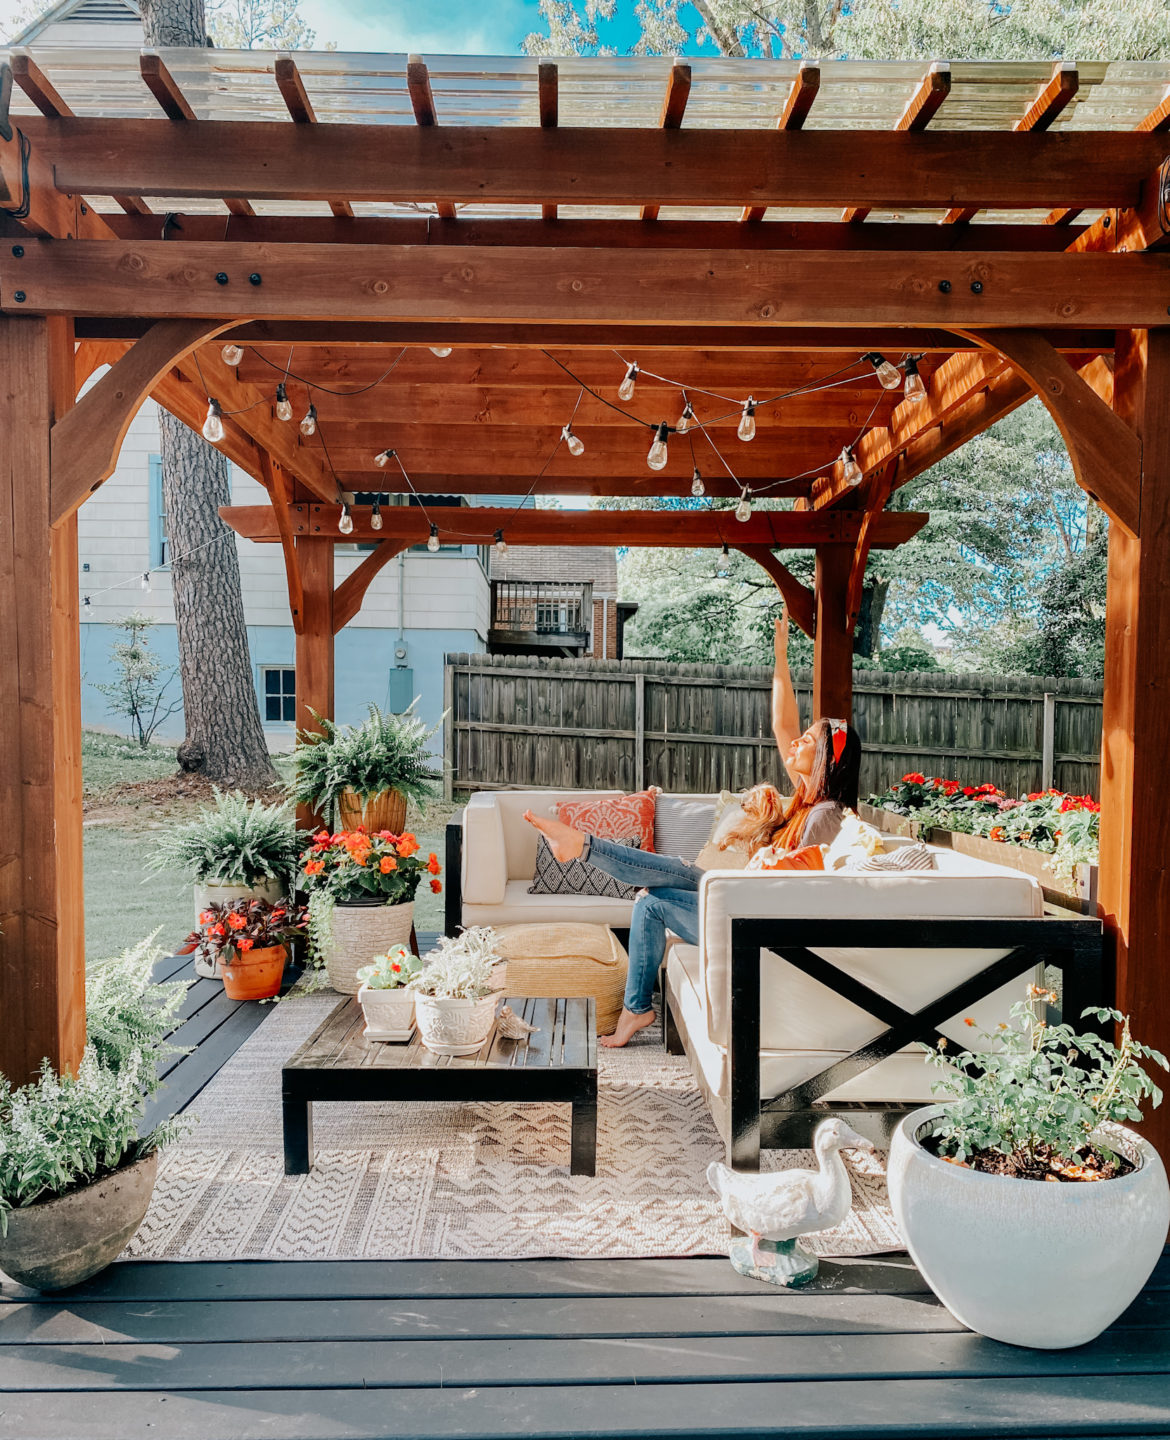
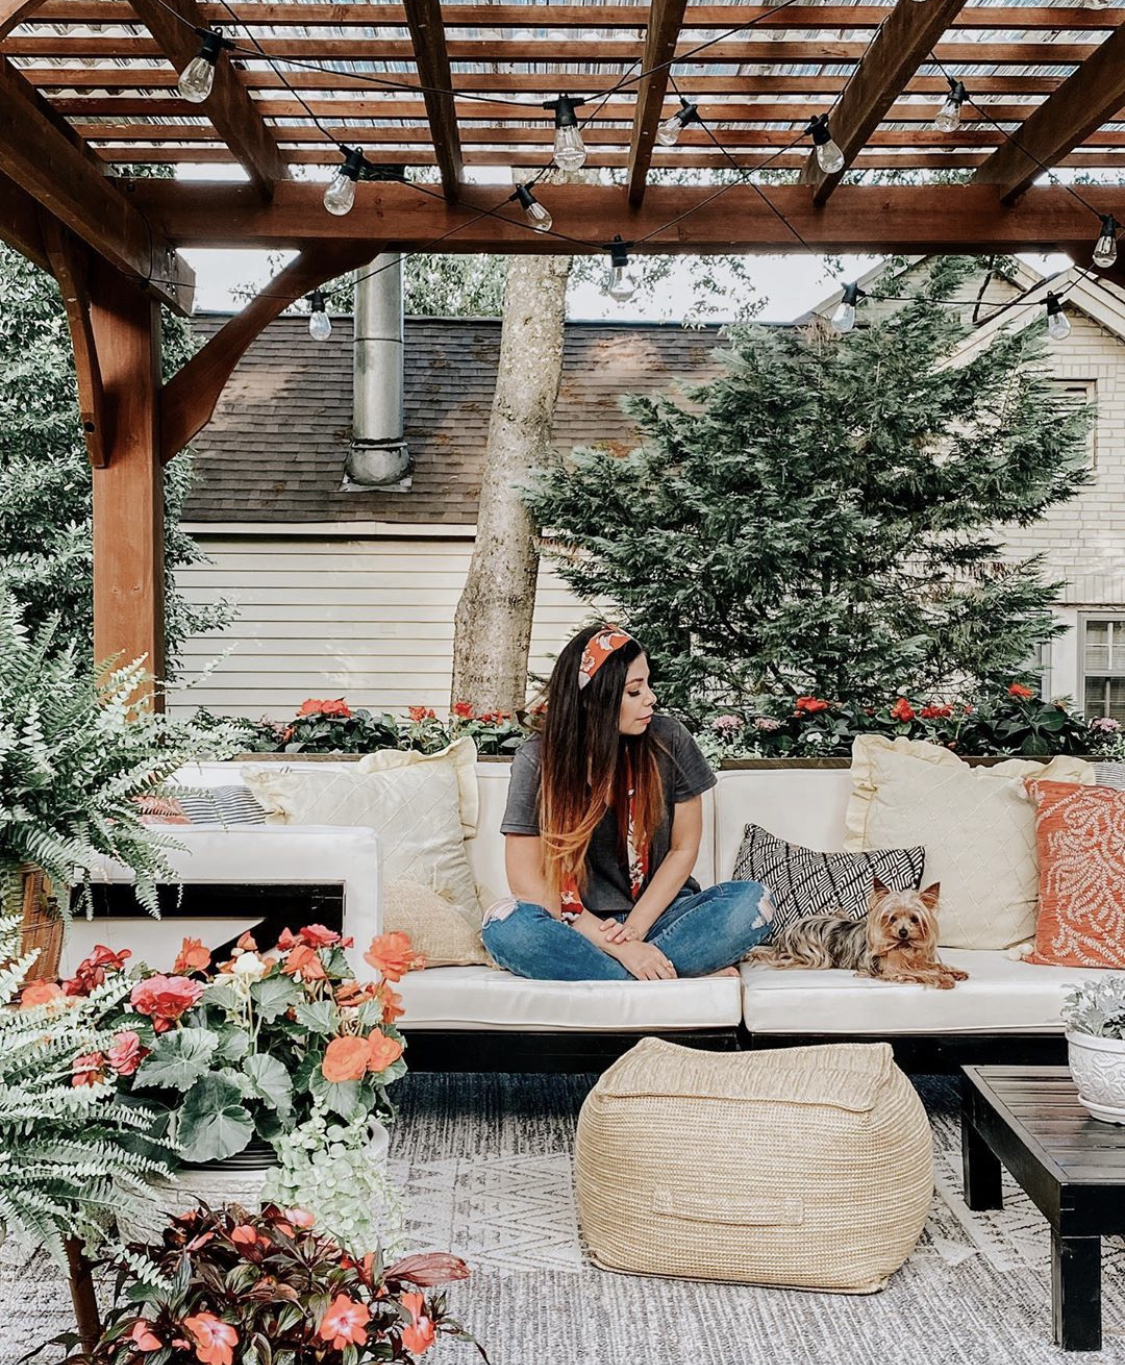
I wanted to still enjoy the sunlight, while having shade so we chose to go with corrugated roof panels in solar grey. It makes a world of difference when its the hottest time of the day! This has become my outdoor office most days and I can’t complain.
What we used:
Corrugated Roof Panels in Solar Grey
Ladder
Measuring Tape
Installing Roof Panels
Because our pergola had horizontal boards on top of the vertical boards already, we did not have to install purlins. If you only have boards in one direction, you will need to add purlins. Check out this blog for instructions on how to do that.
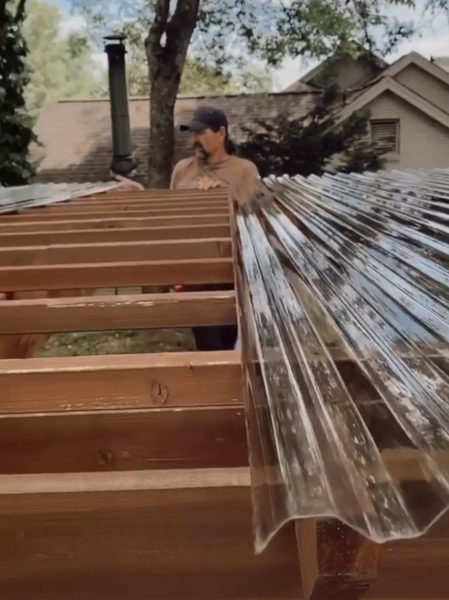
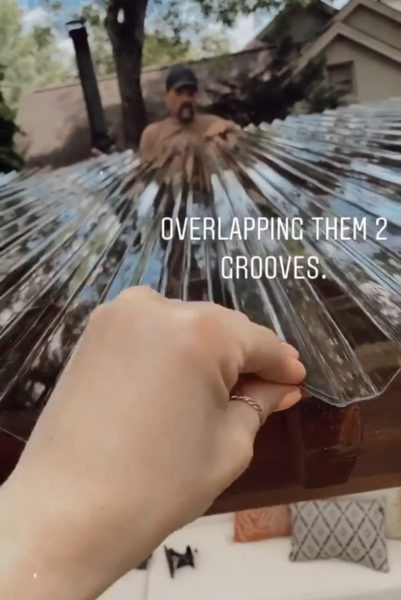
We measured the roof area to know how many panels to get and what size. Then, we lined them on top of the pergola by overlapping at least one groove over the other. After that, we sealed the entire areas that overlapped.
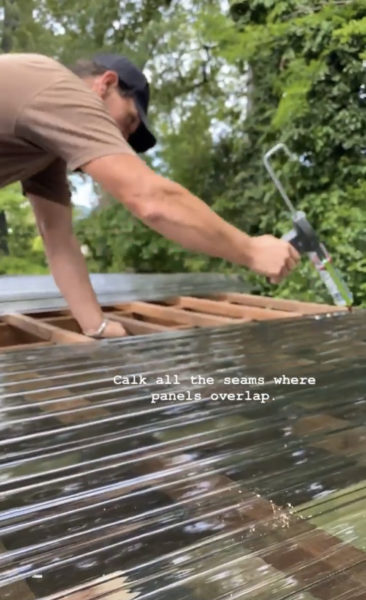
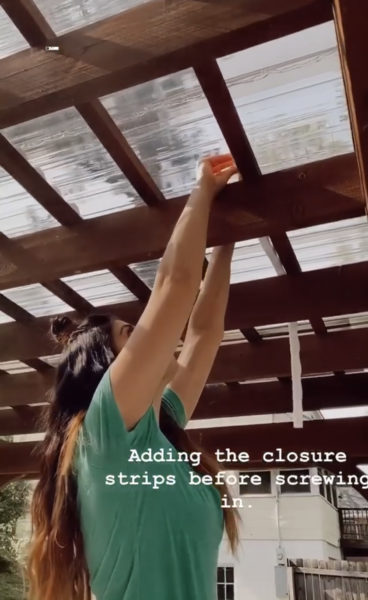
For us, it worked out easier to insert the enclosures after the panels were lined up and sealed. We simply lifted the panels from underneath and inserted the enclosures across every horizontal board to ensure every groove of the panel had support underneath it. You could also let this be your first step and then lay your panels on top accordingly.
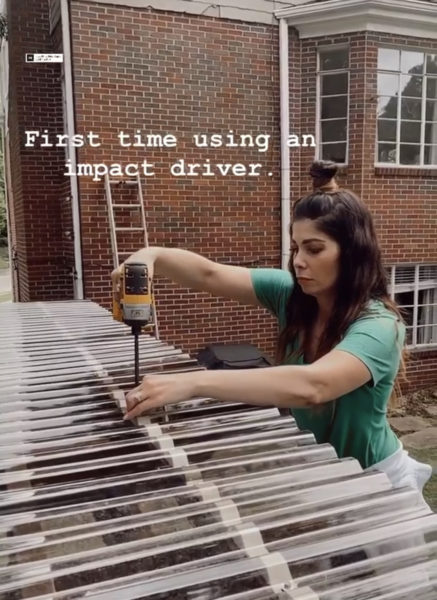
Then, we used the impact driver and screwed roofing screws into the panel, enclosure and purlin all throughout. Be sure not to go too tight with the screw to prevent cracking!
This project took a few hours with 2 of us and was totally worth it! I can’t believe I waited so long to do it! If you want to see this project in action, I have a story highlight saved on my Instagram called DIY Pergola Roof.
Stay Happy!
CER
Leave a Reply Cancel reply
Let's be real... life can be complicated. How about we do it together and have fun along the way as we find the happy in our every day?!

I’m hoping to we can build one of these also. We are in the process of a new roof plus a wrap around porch at the moment. Those two things are a big expense so I’m probably going to have to wait until next year. Thanks for giving us ideas for when we do get to build one! 😁
Oh that sounds like a fun project. Hope you are able to do it soon! And thank you for reading the blog and commenting to say hi! Hope you have a very happy week!
More than a outdoor patio, an awning, a umbela or a veranda, pergolas with louvered roof happen to be the ultimate answer to your outdoor living satisfaction. You will need louvered pergola to: affect the amount from sunlight by partially beginning the top louvered rotor blades boostwinter temperatures through your house by pointing the baldes for the home and letting the sun’s rays in guardhome and exterior furniture by fading and deterioration enhance the value of the property
We’re planning on adding a roof to our pergola soon and I’m wondering, does it retain the heat during the hottest times of the day? Not sure if the solar panels block the hot sub? Thanks, it looks beautiful.
Love this so much! Could you give an approximation of the cost?
Looks so beautiful! Can you tell me how the water drains when it rains ? Thank you so much.
You don’t get any rain water leaks due to no roof pitch?
documentation ; longueur maxi en transparent